I ignored that room for several years thinking I would save up for a complete renovation. But alas, the economy intervened. What really grated on me was the kitchen drawers that slid wood against wood and shredded sawdust into the cabinets below. I decided to install drawer slides.

I had to use old lumber pieces to build up the back of the wall. Is anything ever as easy as it is in your mind?

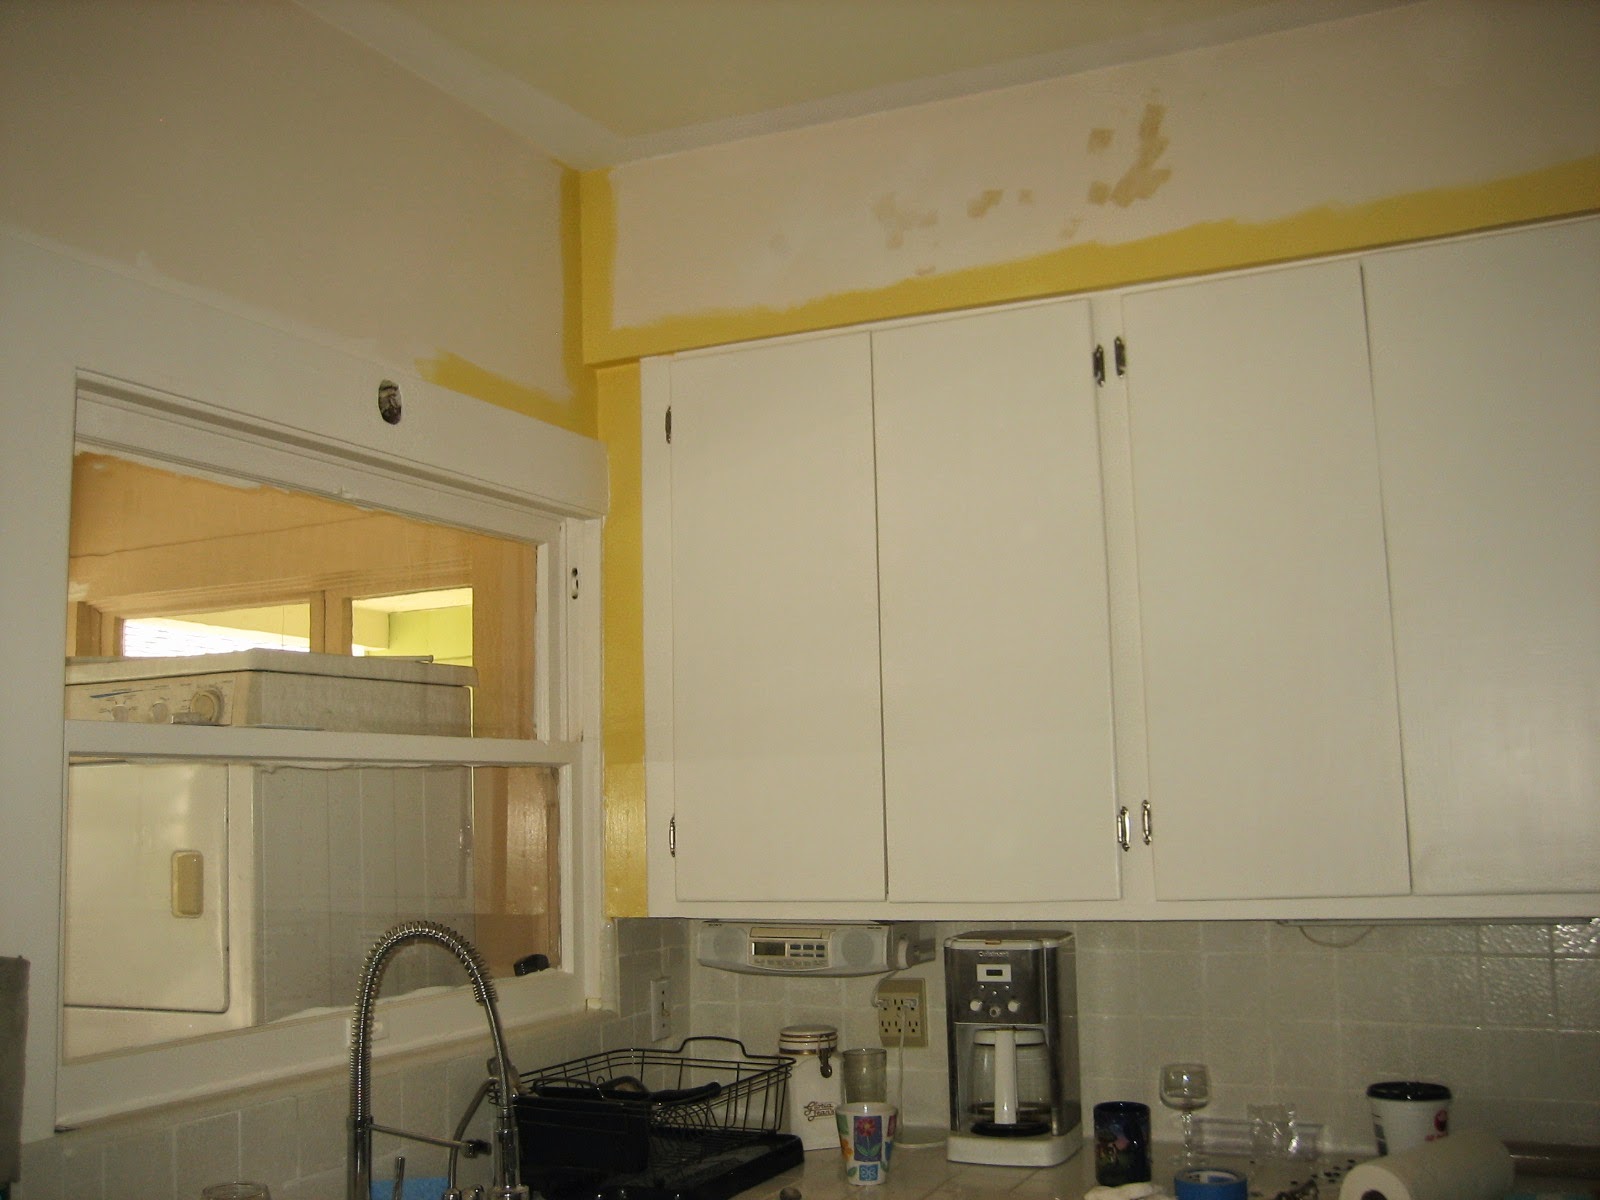
But wait, since I have this started, I should just throw a coat of paint on until I can completely renovate.
Lets take all the cupboard doors off to paint.

Um.... am I supposed to do this in stages? Like take a few off, work on the hardware, sand, and paint then process a few or... (do it the way I did and) take them all off at once.

A little awkward placement of cupboards, oh well.


I did use this opportunity to thin out my many dishes and etc. that haven't been used in a long time.

You can see the crock-pot cooking the hardware for re-use.
I couldn't not take the pantry door off could I? It wouldn't shut properly.


I had an unfortunate overflow in the bathroom upstairs. Luckily it was a one time event and dried up quickly with little damage but I couldn't leave that.
Hmmmm, I really don't like that light fixture either. Fake oak frame with fluorescent lights....

OK now I can't just ignore the back porch/laundry room since it's so visible from the kitchen.
You see the pinkish flat primer paint. Nice.


I have a little bit of perfectionist (anal) gene and can't just paint over the hinges like 5 previous painters have done so I'll need to take the hinges off.


Since I'm
Here are some pictures of progress before you think me insane.

Yeh, let's not empty all the cupboards, Whew!
Note to self: paint the insides later.


The back door is in the Laundry Room so that was included.

Did I mention this house has settled and withstood several earthquakes.
Do I mount curtains level or inline with windows? Level doesn't look right.
What a mess and easy catch-all


At some point in this houses life they added the laundry room onto the back of the house.
...and left the window....
The original laundry area was located outside. This is much more convenient.

I did finish this project in a timely manner
I just didn't update this Blog. Here are some AFTER pictures.


The pictures along the ceiling are actual 'crate labels' from my town of Covina

The 'JELLO' advertisement picture commemorates my home state of UTAH's national fruit. LOL
Two finished pictures of the laundry area. I'll search for more.


I found another


A little chalk-board paint to the pantry door looks nice too.
I refurbished and rewired an authentic 1920's light fixture.

My DIY kitchen island to replace that cute ineffective wicker table.
I got a thrift store shiny white desk and had my awesome brother mount it on plywood with wheels. He also added a shelf where the knee hole was.

I painted it in 'Fusion mineral paint' 'Liberty'
but what to do with the top? Paint is not practical.
Should I buy a slab of granite? Ugh (did I mention I'm cheap?)

Oh my awesome brother also added some bead board to the ugly rough back. I hadn't decided what to do with that shelf either.

After googling and Youtubing,
I bought a small granite kit from https://gianigranite.com
in 'SLATE'
This is actually made to refinish counter-tops.
I may do my old tile top later it was soooo easy.
Here's the base coat.

The kit includes everything but guts.
The base is rolled on then after drying for a couple hours
step two.


a better peak at the bead board on the back.
3 colors sponged on to your liking

Kind of pretty


After drying time (couple hours)
3 or more coats of clear sealer topcoat.
I couldn't be more pleased.

I finally decided to just paint that shelf. I might go back and do the granite.
I have enough left over.
The finished product turned out beautifully if I do say so myself.
